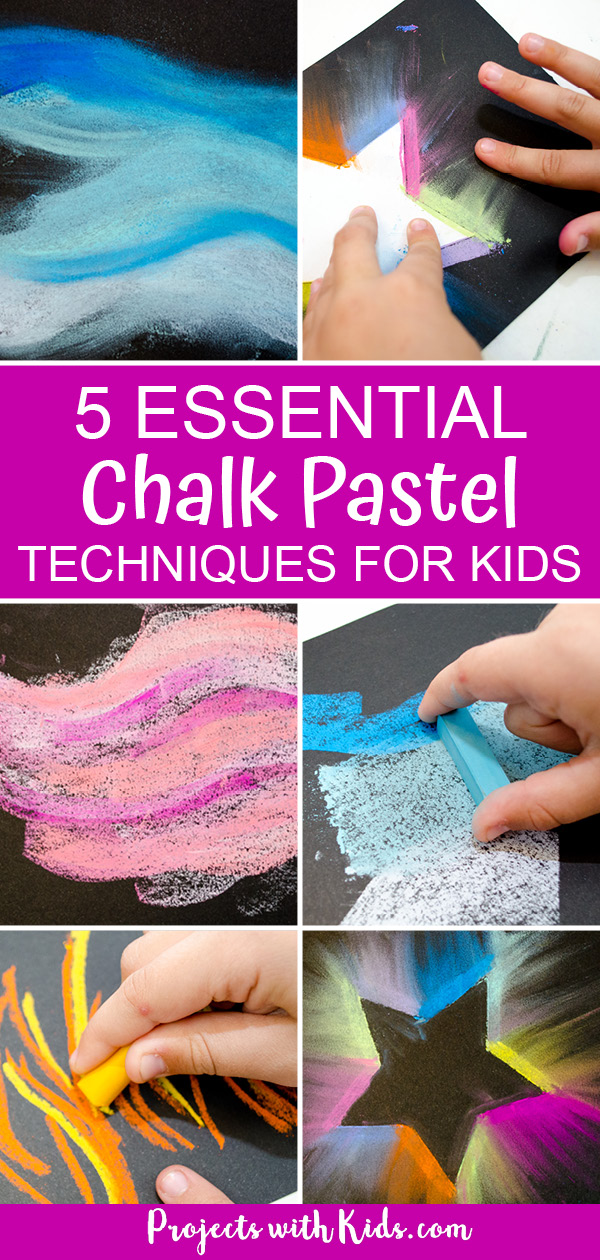
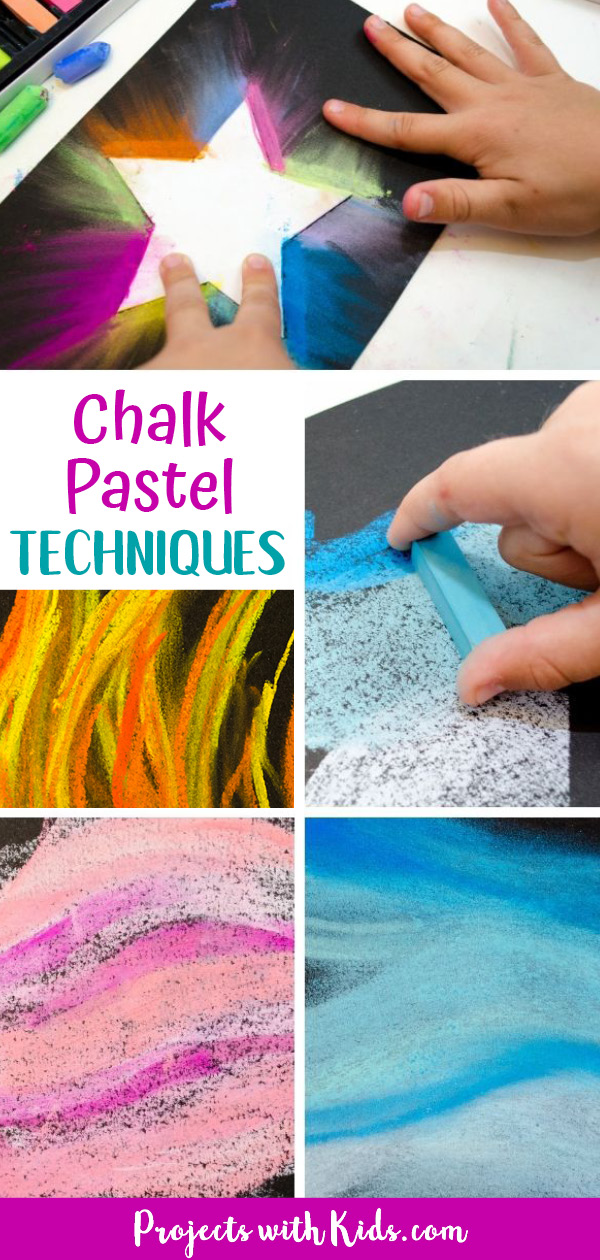
Cool but Easy Chalk Drawings
I admittedly love chalk pastels! They are so bright and colorful, easy plenty for younger kids to use, and require little prep and simply a few uncomplicated supplies. These 5 essential chalk pastel techniques for beginners volition set kids up for pastel success!
Pastels are then fun for kids to explore! Take a look at my collection of chalk pastel art for more creative ideas kids volition love.
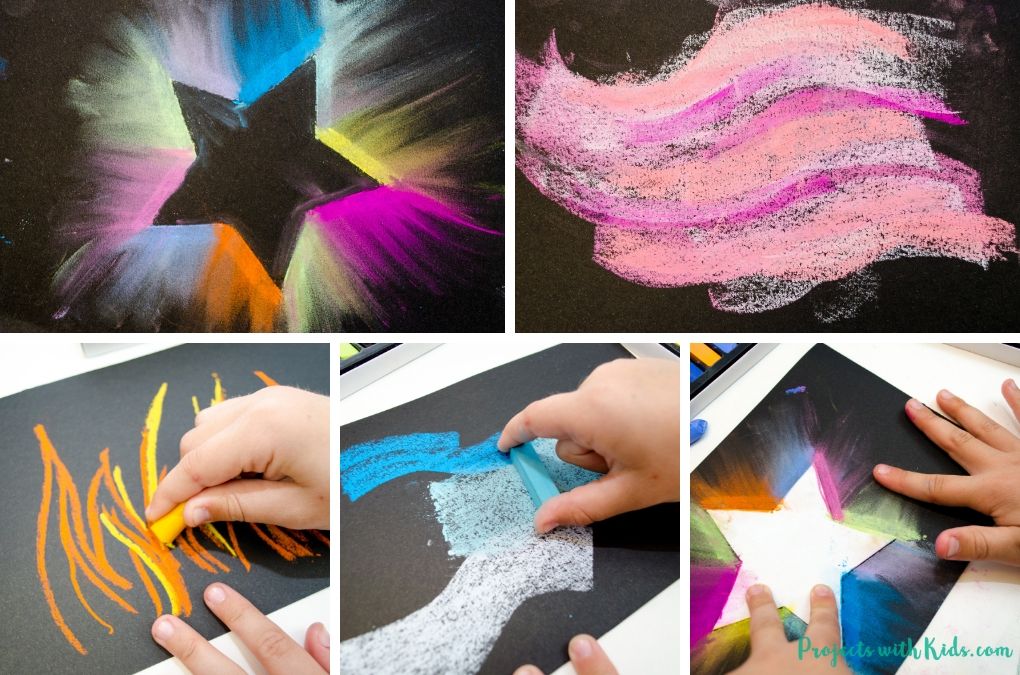
Below you will find five different chalk pastel techniques that are easy for kids of all ages and abilities to effort and have fun with!
Nosotros love creating and exploring with different art supplies and techniques. If you lot are looking for more art projects to try, take a await at our ultimate collection of astonishing fine art projects for kids!
Chalk Pastel Techniques for Beginners
This post contains affiliate links, which come up at no cost to you. If you would like more data please review my privacy & disclosure policy.
Ownership chalk pastel supplies can be confusing! There is a range of prices and a variety of pastels and newspaper. You don't have to spend a lot of coin to get started with chalk pastels.
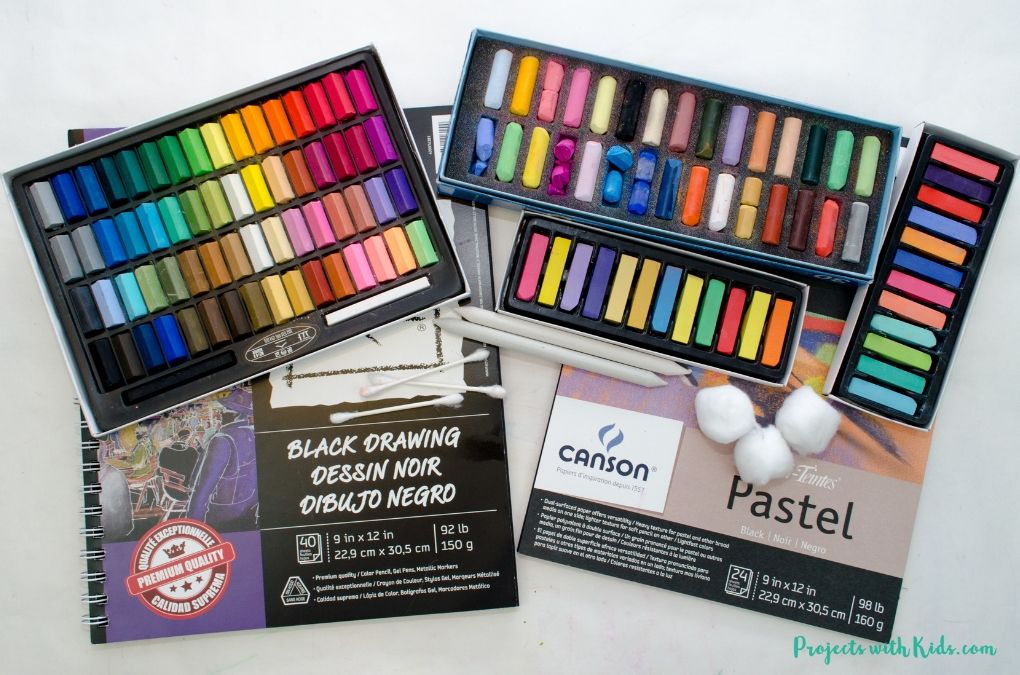
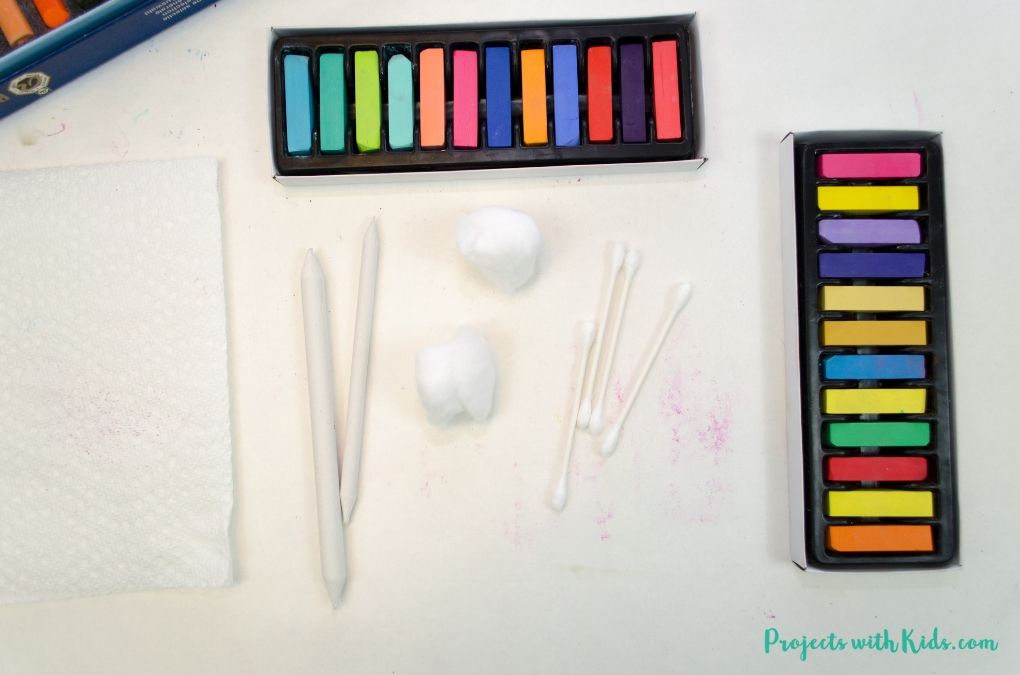
Supplies to go started with chalk pastels
For chalk pastels, I have used and similar this brand and this brand. They are soft, have beautiful bright colors, blend nicely together and are inexpensive.
Using black paper with chalk pastels is my favorite! I honey how the colors really popular. But finding black pastel newspaper can be hard (and in some cases expensive), and so I have also used black drawing paper and even black cardstock.
If you are using pastels in a classroom, you tin even effort blackness construction paper!
When y'all offset experimenting with different blending techniques, yous can employ a q-tip, cotton balls or a blending stick.
Drawing with Chalk Pastels
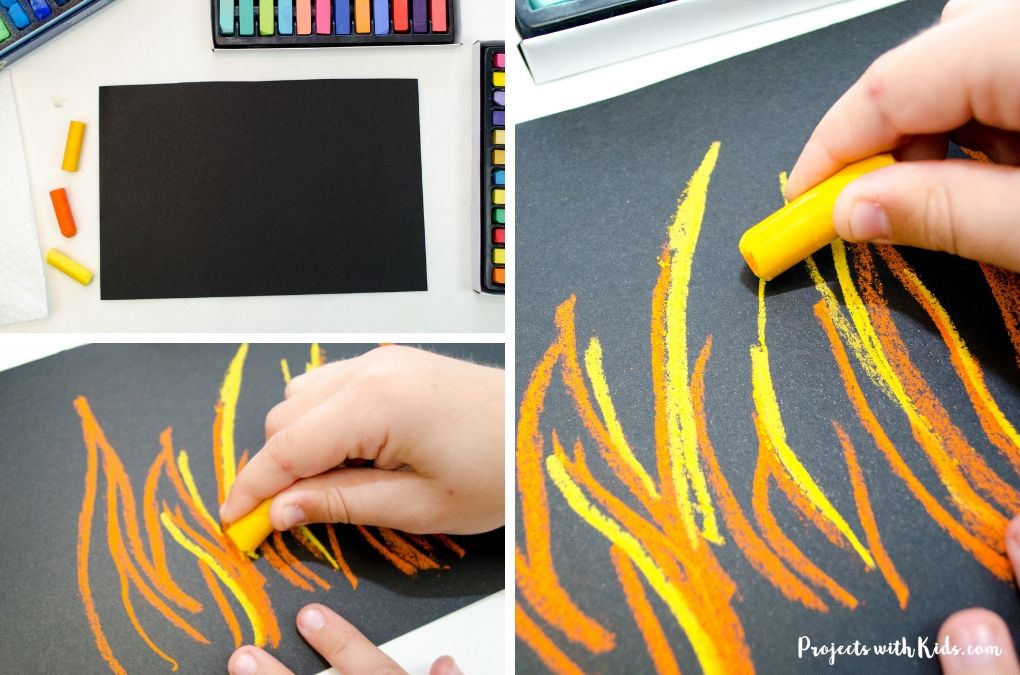
Perhaps one of the about bones and like shooting fish in a barrel techniques to try with chalk pastels is but only to draw with them! There is no right or wrong style to do this, concur the pastel like a pencil and start to describe.

You can layer the colors as you get, and merely experiment with different types of lines. This is a great offset technique for kids to endeavor, they can attempt cartoon a moving picture with pastels instead of using crayons or markers.
Yous tin see this pastel technique in activeness in these shooting star paintings with chalk pastels and this winter snowfall earth craft.
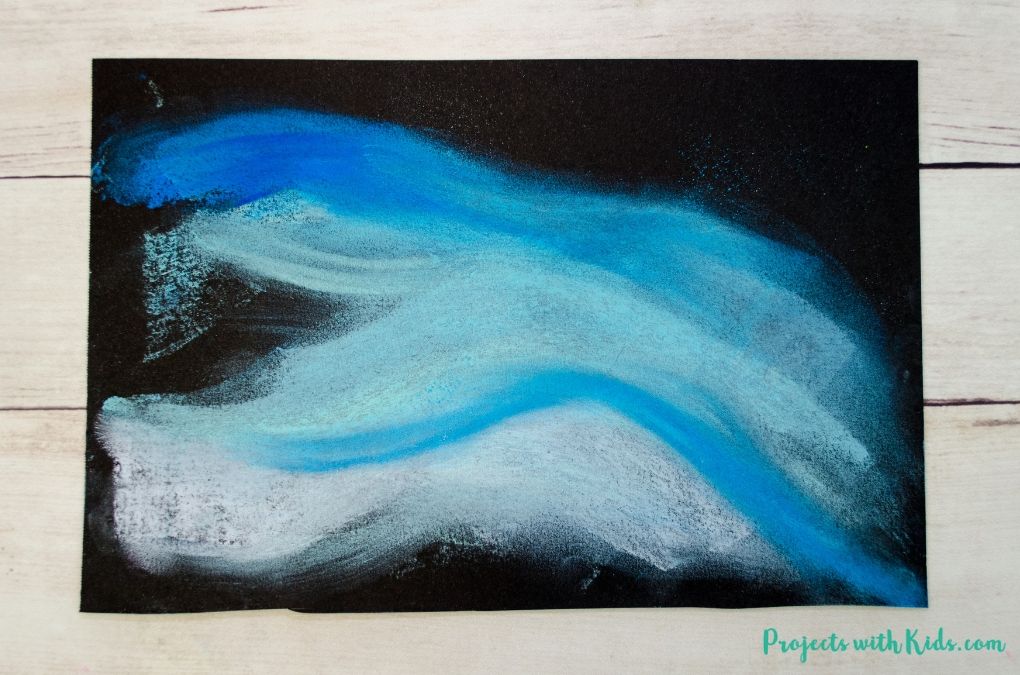
Using the flat edge of chalk pastels to create texture
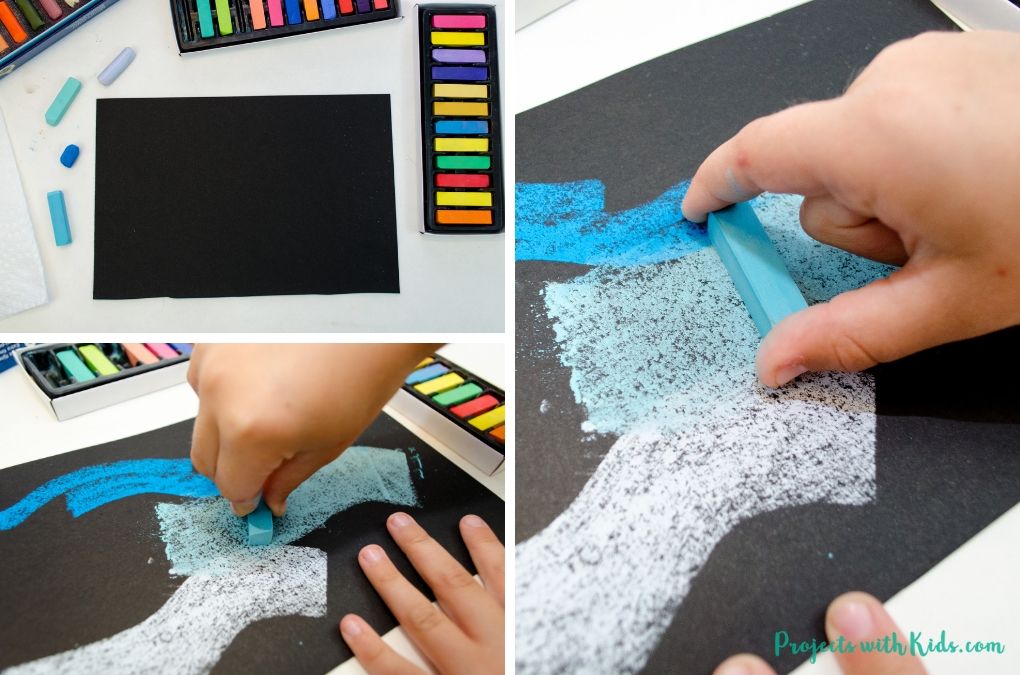
I love this technique! It instantly creates texture and interest in your pastel art. Using the flat border of your pastel can cover a big area of your paper chop-chop and is great for showing h2o or sky.
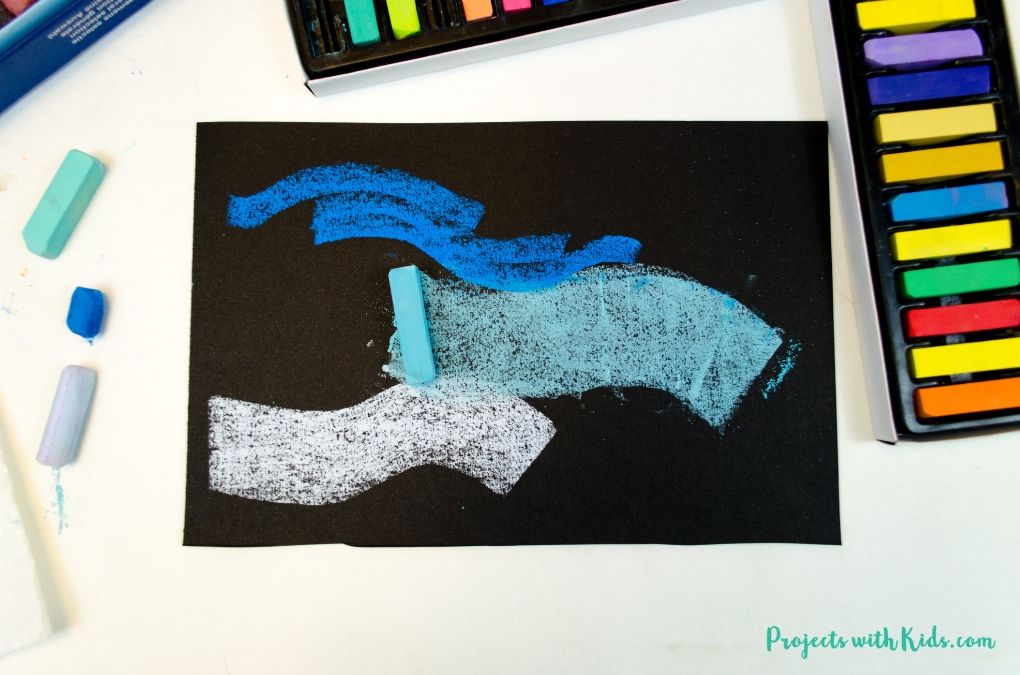
Concur the pastel on its side and drag it across your paper. You tin can drag information technology directly across or make wavy lines as you go. This technique is fun for kids to experiment with!
You tin can see an example of how we employ this technique in our chalk pastel sunsets with kids.
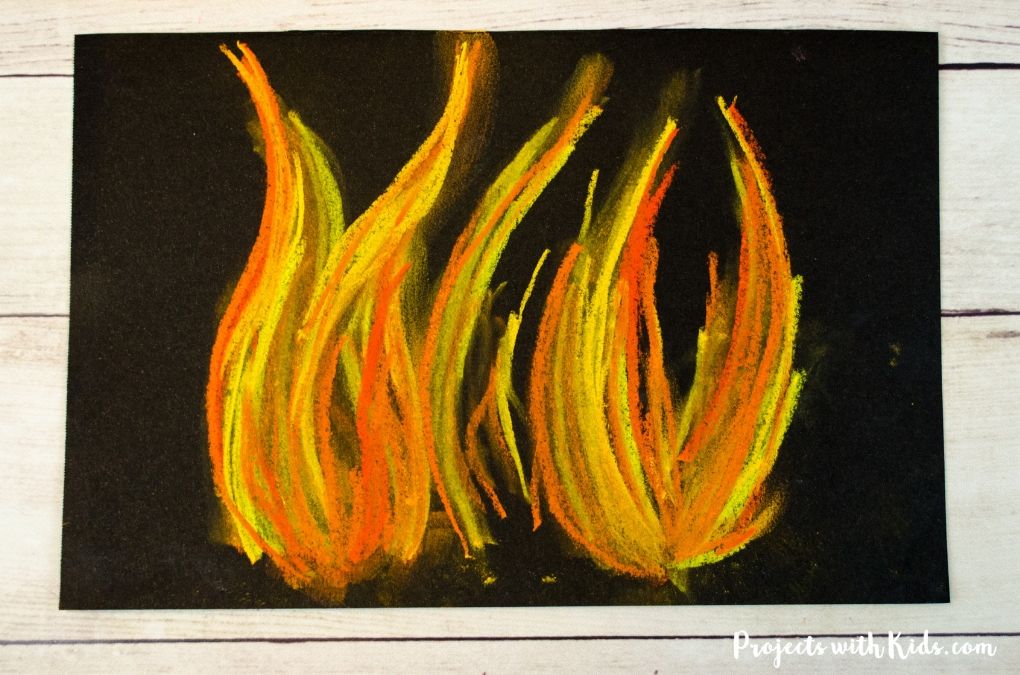
Layering with Chalk Pastels

Layering with chalk pastels really goes manus in hand with the cartoon and the flat edge techniques.
Pick out 2 or 3 colors you desire to practice layering with. Start with one color and draw or use the flat border of the pastel. Then add together on another color on top. Add on your tertiary colour if you like.
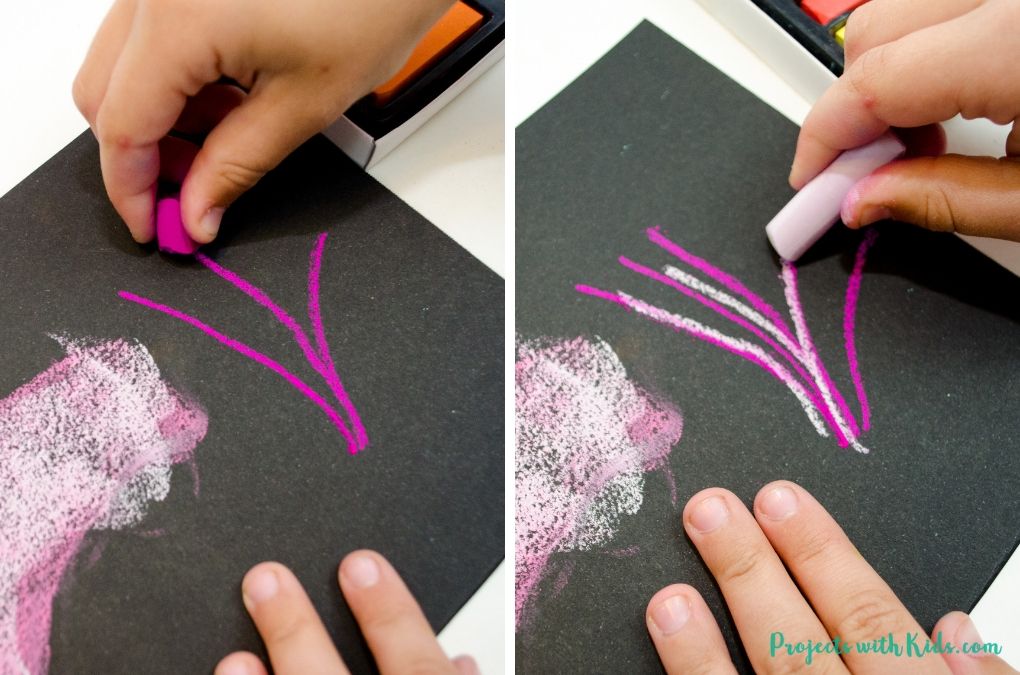
And it's really that elementary!
Yous can use layering to testify the different colors of water or sky, to evidence different shades of grass or flowers. Information technology'southward a very versatile technique that is fun to exercise!
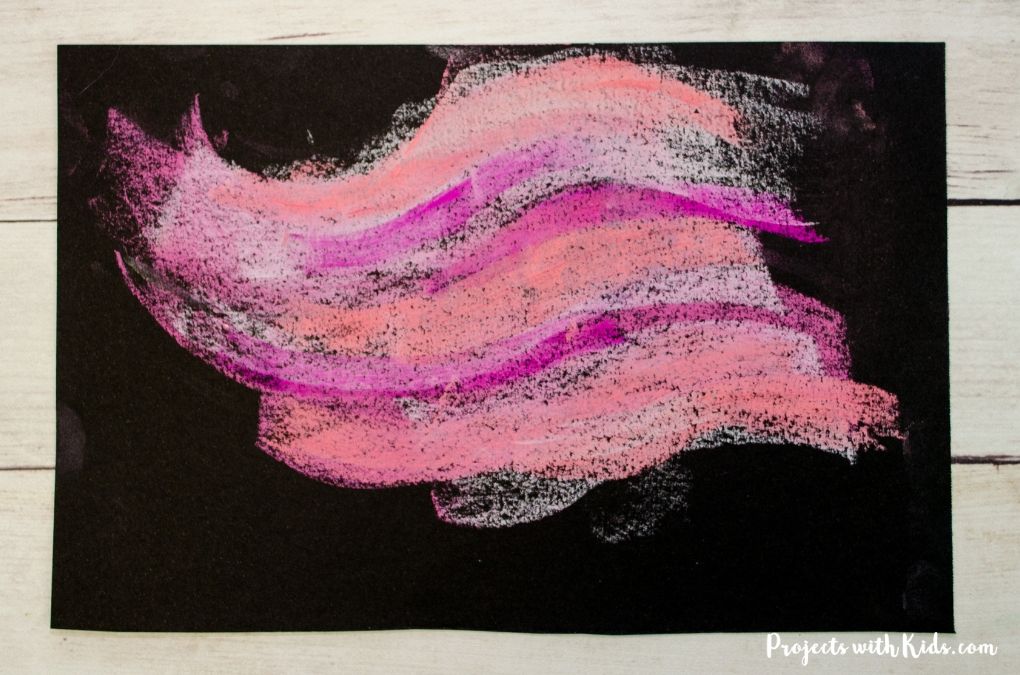
I love layering colors on top of each other and seeing what the dissimilar colors look like together.
You can run across how we used the layering techniques in our chalk pastel sunsets with kids, this wintertime snow world arts and crafts and our shooting star paintings. Each i with unlike results!
Chalk Pastel Blending Technique
Just like with the layering technique in a higher place, blending with chalk pastels works perfectly with the other techniques. Y'all tin blend your colors together after drawing with them, using a flat edge and layering your colors.
There are a few unlike ways to blend your pastels together, kids can try out a few and decide which ones they similar best.

The easiest way is to just use your fingers. I like to use my commencement finger or my first ii fingers to blend.
This is my favorite fashion to blend pastels, merely sometimes kids don't like the feeling of the chalk on their hands or they don't desire to go messy, and so at that place are other options.
Yous can also use a q-tip or cotton wool ball. Using a cotton ball can work for blending larger areas if you don't want to use your fingers. But it tin can also take off a lot of the color, so it's not my favorite option.
Using a q-tip for blending minor particular areas can work slap-up!
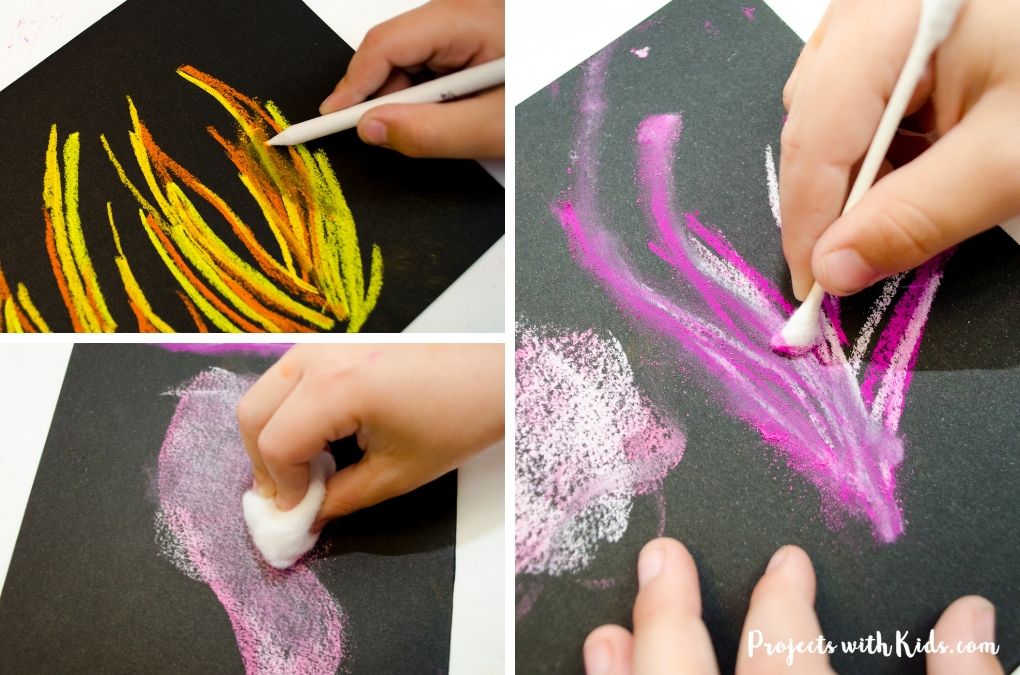
You can also use a blending stick. These come in different sizes from quite large to small. I similar to use blending sticks when I don't want to get my hands muddied.
Every bit you alloy, you tin add more colors on height and alloy some of them or only leave them. Make sure to blend all in the aforementioned direction, blending back and forth tin rub off likewise much color and make things wait muddy.
The central to blending is to non overdo information technology, a little blending goes a long way!
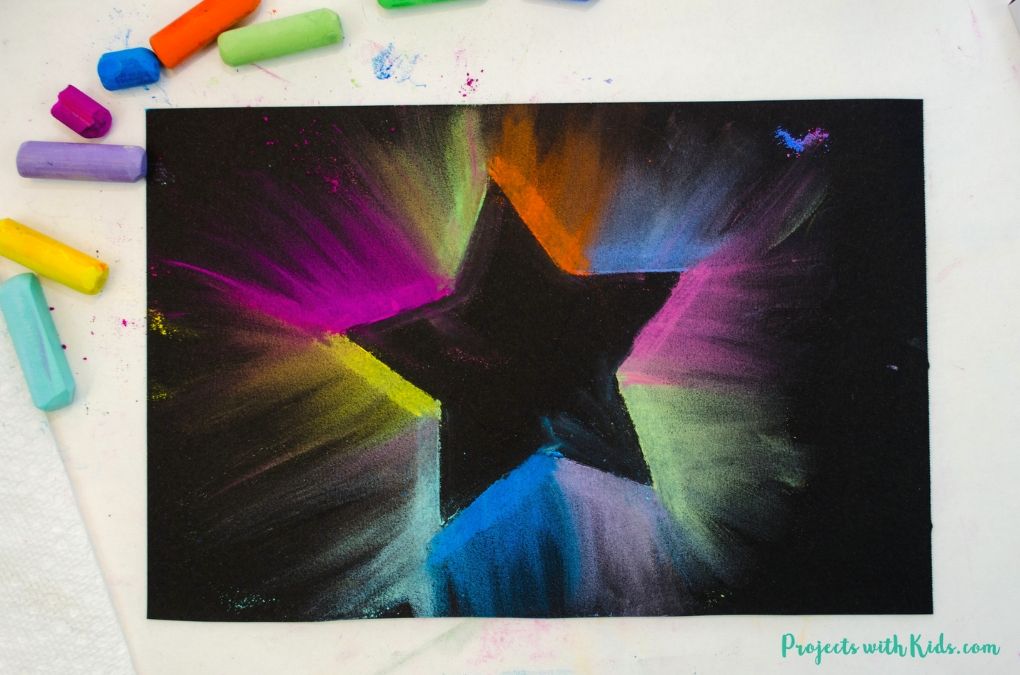
Using a Template with Chalk Pastels
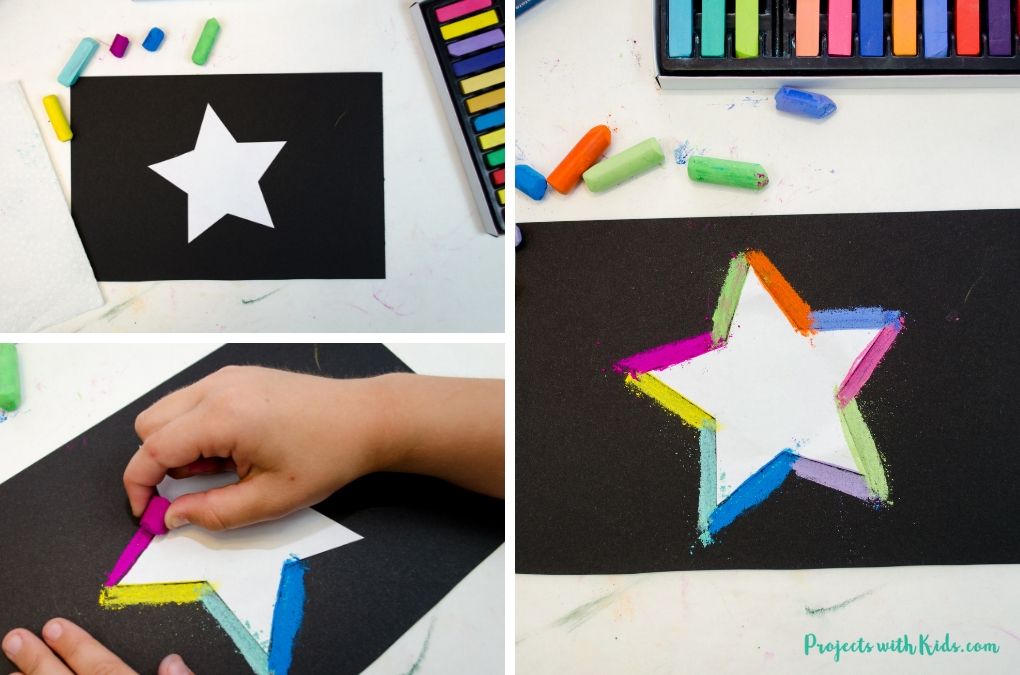
Using a template is one of my favorite ways to really add the wow factor to chalk pastel art. Information technology'southward a very simple technique that kids of all ages can practise and it looks great every time!
I love how kids tin can choose the colors they desire to use to really get in unique.
It's all-time to utilize cardstock paper for your template and to tape it down to your pastel paper with some painter'southward tape.
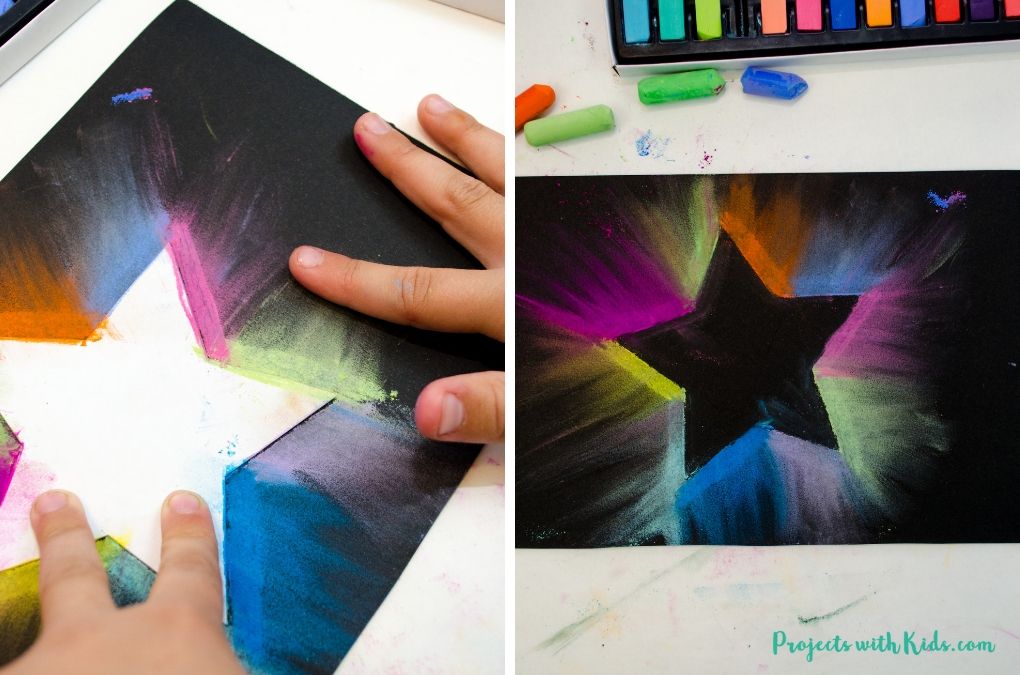
Draw around your template with thick pastel lines. Kids can choose the colors they use, 1 or 2 colors or multiple colors. Using your fingers or a blending tool (similar a blending stick or q-tip) alloy the colors outward, in the aforementioned direction.
Keep going around your template until your colors are all blended. Carefully remove your template.
If there is a lot of chalk grit you can have your artwork exterior and blow or milk shake the dust off.
We use this technique a lot, you can run into examples in this bunny fine art with chalk pastels and this Canada Twenty-four hour period chalk pastel art, which only uses 2 colors.
These easy chalk pastel techniques for beginners volition help kids learn about different ways to utilise pastels and give them a chance to explore and have fun!
More than Art Projects You lot volition Dear
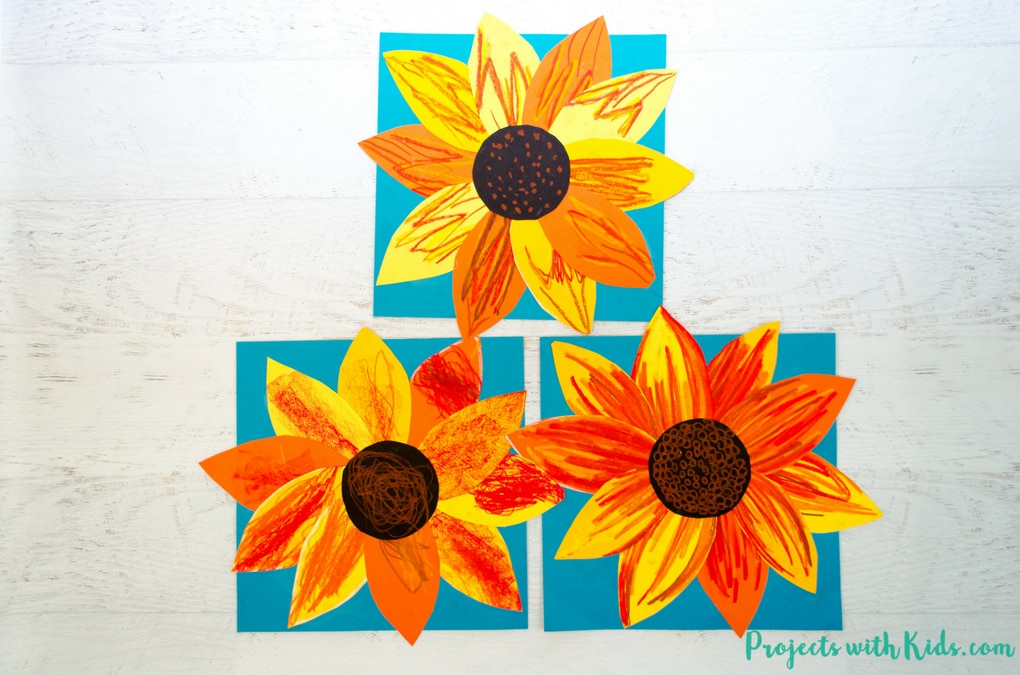
Autumn Sunflower Arts and crafts with Oil Pastels
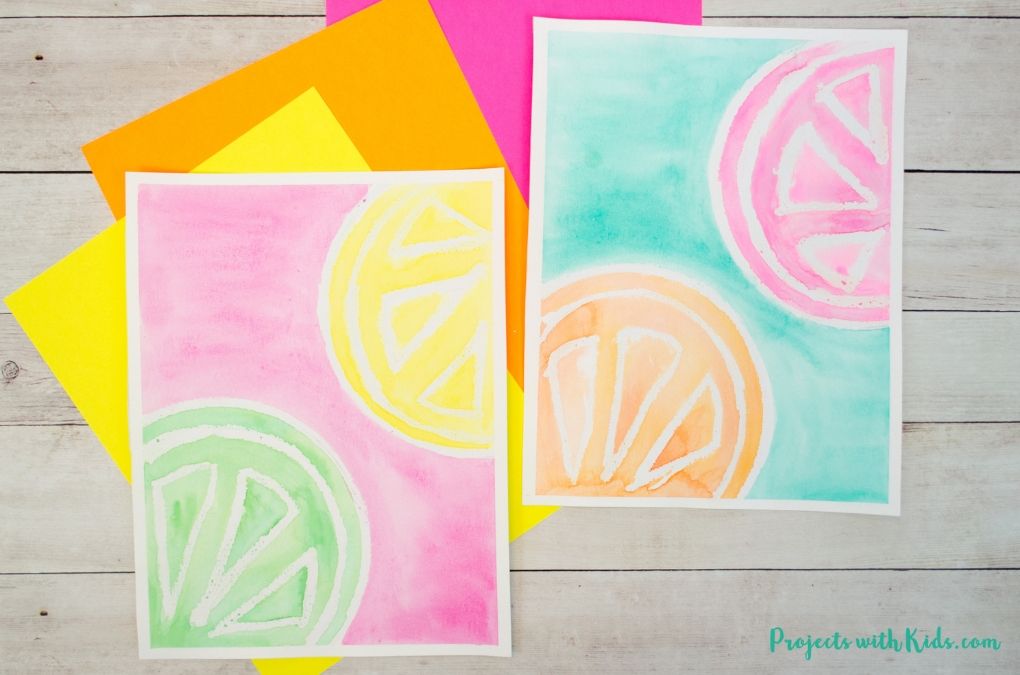
Bright & Fun Watercolor Resist Citrus Painting for Kids
Follow me on Pinterest for more astonishing project ideas.
Pin these pastel blending techniques for later
Prep Time five minutes
Agile Time 30 minutes
Full Time 35 minutes
Difficulty Easy
Materials
- Chalk pastels
- Blackness pastel newspaper or black cartoon paper, yous can also try using black cardstock or construction paper
- Q-tips (optional)
- Cotton fiber balls (optional)
Tools
- Blending stick (optional)
Instructions
- Drawing with chalk pastels
This is probably the easiest technique for kids to become started with. Hold the pastel like a pencil and first to draw.Kids can try cartoon a moving-picture show with chalk pastels instead of using crayons or markers.
- Using the apartment edge of your pastels
This is one of my favorite techniques! Hold the pastel on its side and drag it across your newspaper. Try drawing straight lines and wavy lines.This is a great technique to cover a large area of your paper and to add texture and interest to your pastel art.
- Layering with chalk pastels
Layering really goes hand in mitt with drawing and the flat edge techniques.Choose ii or 3 colors yous want to practice layering with. Commencement with ane colour and draw or use the apartment edge of your pastel. Take your second colour and layer information technology on top.
This is a very simple technique that tin can add dimension and bear upon.
- Chalk pastel blending technique
Blending with chalk pastels works perfectly with the other techniques and is very unproblematic to do. You tin use your fingers to blend or try using a q-tip, cotton wool balls or blending stick.My favorite way is to simply apply my fingers to blend. Employ your first finger or your get-go 2 fingers and gently alloy together your pastels, blending in the same direction.
Try using a q-tip to alloy smaller detail areas. Yous can too try using a blending stick, these come up in various sizes.
Using a cotton brawl can also work to blend larger areas, even so, it tends to remove a lot of the color so it's non my favorite manner to blend pastels.
For kids who don't like to become their hands messy, a q-tip or blending stick works great!
- Using a template with chalk pastels
This is i of our favorite chalk pastel techniques! Information technology's piece of cake for kids of all ages and always looks groovy.Use a template cut out of cardstock and tape it downward to your paper. Draw thick lines around your template. Kids can cull to use multiple colors or just 1 or ii colors.
Using your fingers or a q-tip or blending stick, blend the pastels outward in the aforementioned direction. Continue blending outward around your entire stencil.
Gently lift your stencil off and blow or shake off the excess dust. This should be done outside.
These like shooting fish in a barrel chalk pastel techniques for beginners are a nifty first step for kids to practice and explore chalk pastels!
Source: https://www.projectswithkids.com/chalk-pastel-techniques-for-beginners/
0 Response to "Cool but Easy Chalk Drawings"
Post a Comment